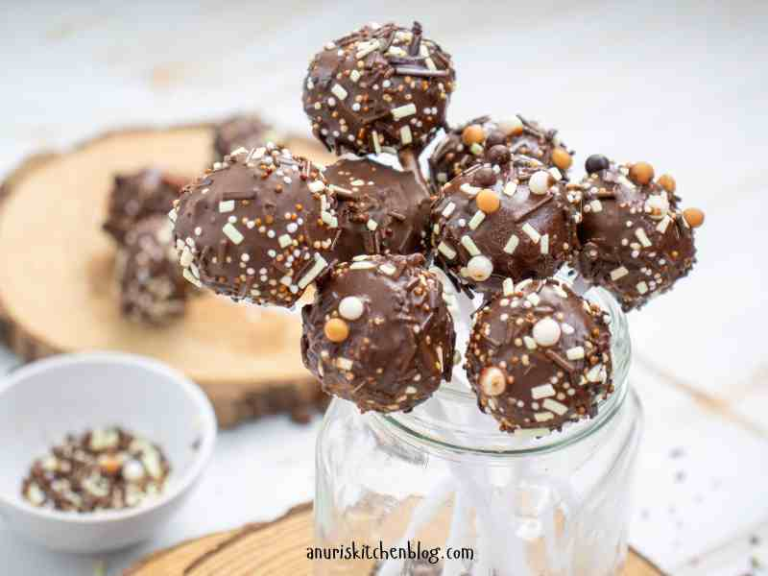
Valentine Pop Cake Recipe
This post will show you how to make Valentine Pop Cake.
My partner still laughs about the first time I made Valentine pop cakes. I was more focused on getting the chocolate coating smooth than actually enjoying the process, and most of them ended up looking uneven.
But instead of pointing that out, he said it was one of the sweetest things I’d done because it showed effort.
That’s the beauty of Valentine treats, they’re not about perfection, they’re about thoughtfulness. Pop cakes don’t need to look bakery-perfect to be loved.
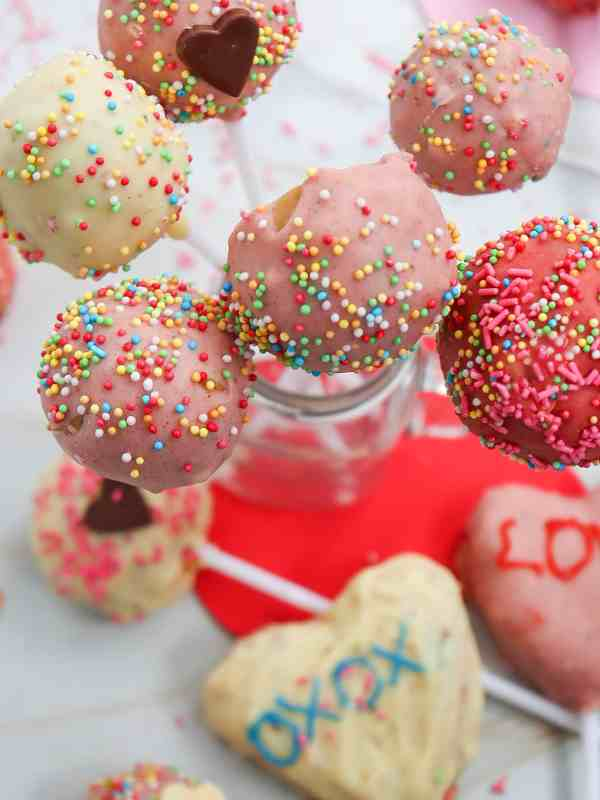
A handful of sprinkles, add chocolate, or even a simple coating is enough to make them come out great.
What I love most is how versatile they are. You can shape them into hearts, add food coloring to match the Valentine theme, or even personalize them with little edible letters.
And honestly, making them can be just as fun as eating them. If you have kids, they’ll love dipping and decorating, so that can assist with that chore.
If you’re making them with your partner, ofcase it has become a mini activity that you both will enjoy engaging in.
And if you’re making the Valentine Pop Cake solo, it’s a chance to get creative and surprise someone with a good treat.
Ingredients for Valentine Cake Pop Cake

-
Cake mix (9×13 inch, about 3–4 cups crumbled) – This is the base of your cake pops. You can use any flavor you like, chocolate, vanilla, or strawberry. Once baked and crumbled, it forms the inside of the pops.
-
Betty Crocker ready frosting (15.6 oz tub) – This frosting helps bind the cake crumbs together so you can shape them into balls. It also adds extra flavor and moisture.
-
Lollipop sticks (20 pieces) – These hold the cake balls and turn them into fun, easy-to-eat pops.
-
White chocolate chips (12 oz) or melting white chocolate – Used for coating the cake pops, giving them a smooth and sweet outer layer.
-
Pink or red food coloring – Mixed into the melted white chocolate for a festive Valentine’s touch.
-
Heart-shaped chocolates or icing – Decorative toppings that make each pop look special and themed.
-
Sprinkles (2 tbsp) – Add a colorful, fun crunch to the pops.
-
Writing icing (optional) – Lets you add little messages or designs on the cake pops.
How To Make the Valentine Pop Cake
1: Bake the Cake
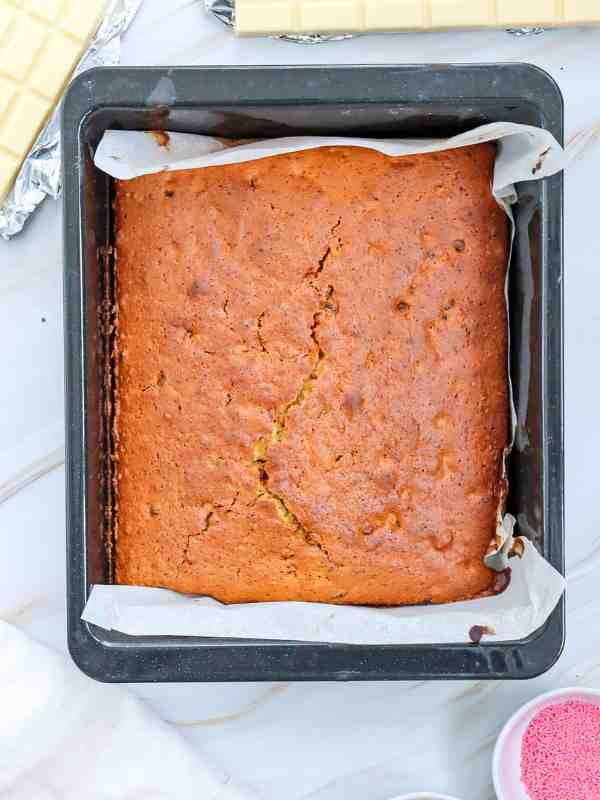
- Prepare a cake using your favorite flavor (vanilla, chocolate, or red velvet are Valentine classics).
- Bake according to the recipe or box instructions, then let it cool completely.
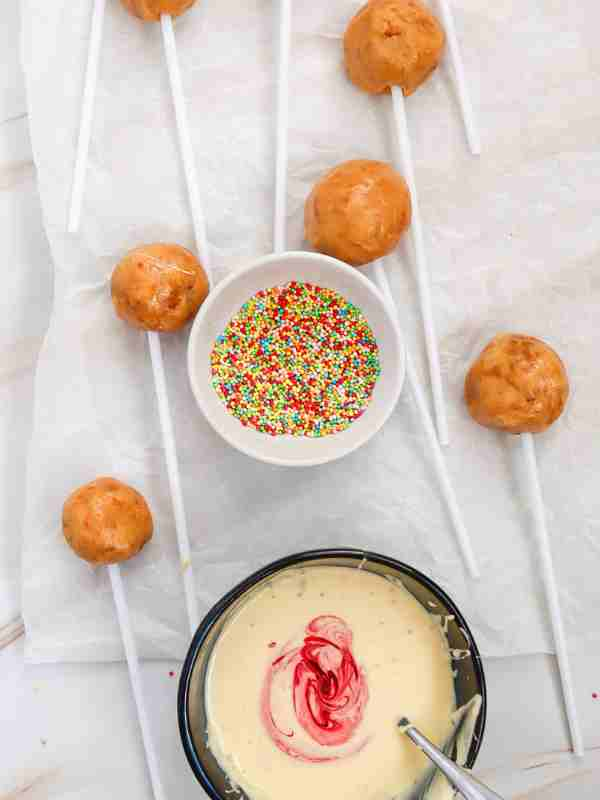
2: Crumble the Cake
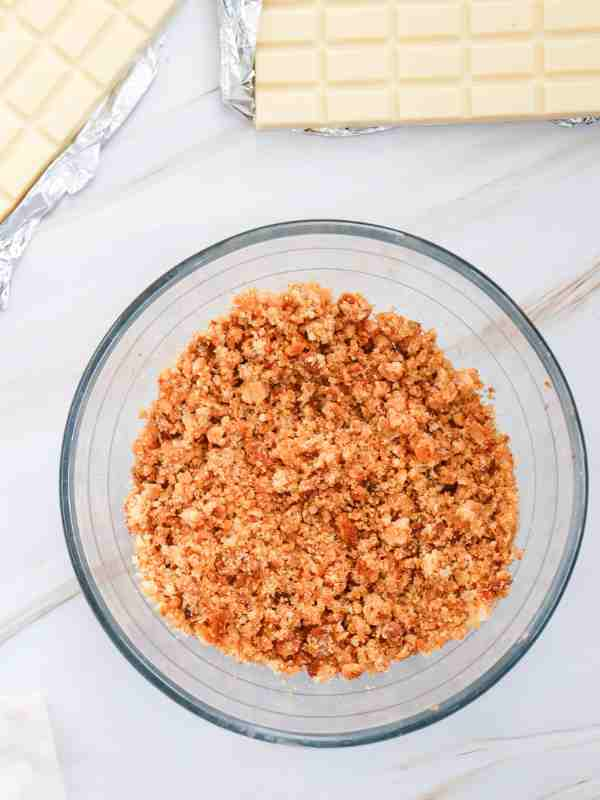
- Once cooled, break the cake into fine crumbs using your hands or a food processor.
- The texture should be soft and even, without large chunks.
3: Mix with Frosting
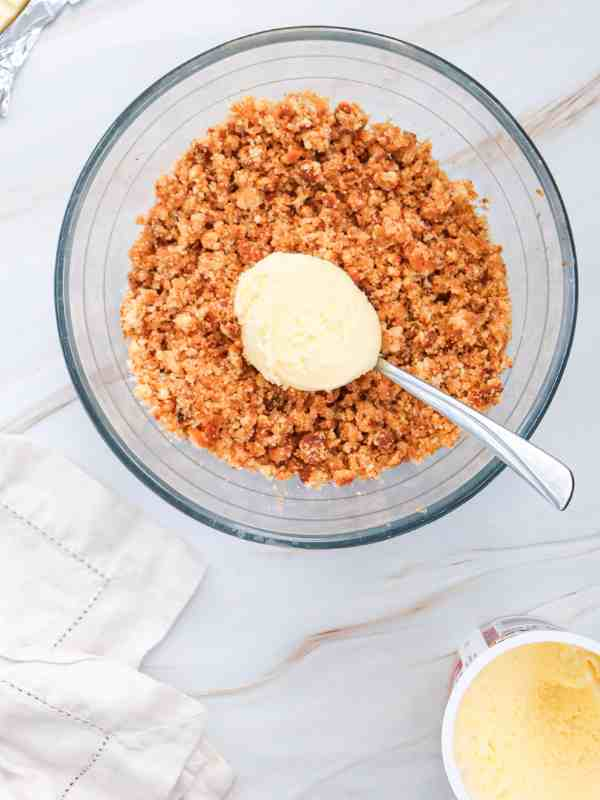
- Add a few spoonfuls of frosting (buttercream or cream cheese frosting works well).
- Mix until the crumbs hold together when pressed, moist but not sticky.
- Start with less frosting and add gradually so the mixture doesn’t become wet.
4: Shape into Balls or Hearts
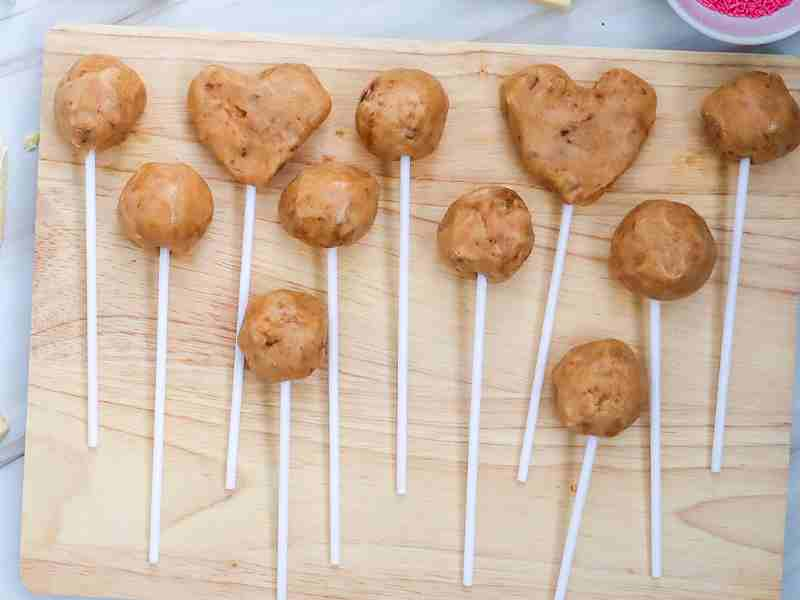
- Scoop portions with a spoon or small scoop and roll into smooth balls.
- For a Valentine variation, press some into heart-shaped silicone molds.
- Place shaped cakes on a lined tray.
5: Chill the Cake Balls
- Refrigerate for at least 1 hour or freeze for 15–20 minutes.
- This helps them firm up and makes dipping easier.
6: Prepare the Coating

- Melt chocolate (milk, white, or dark) in a heatproof bowl over simmering water or in the microwave (short intervals, stirring often).
- Stir until smooth and glossy.
7: Insert the Sticks
- Dip the tip of each lollipop stick into the melted chocolate, then push it halfway into the cake ball.
- This helps secure the stick in place.
- Let it set briefly.
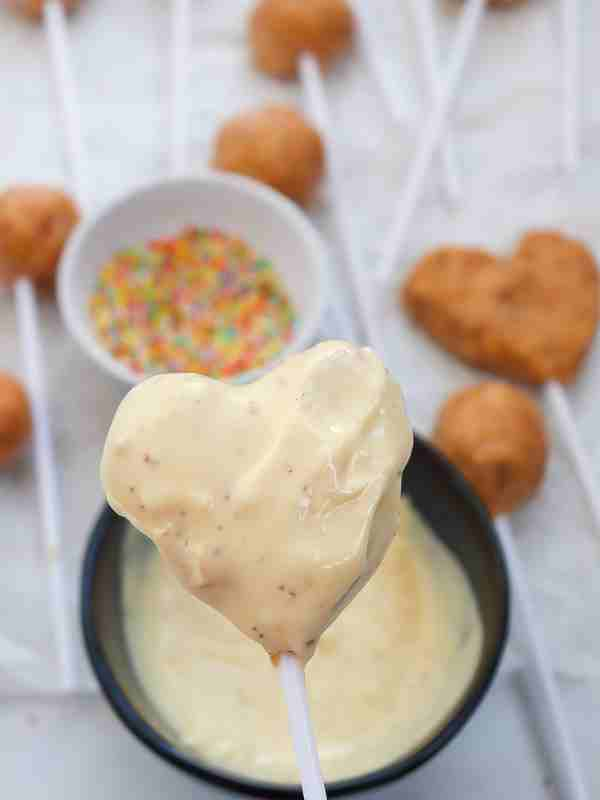
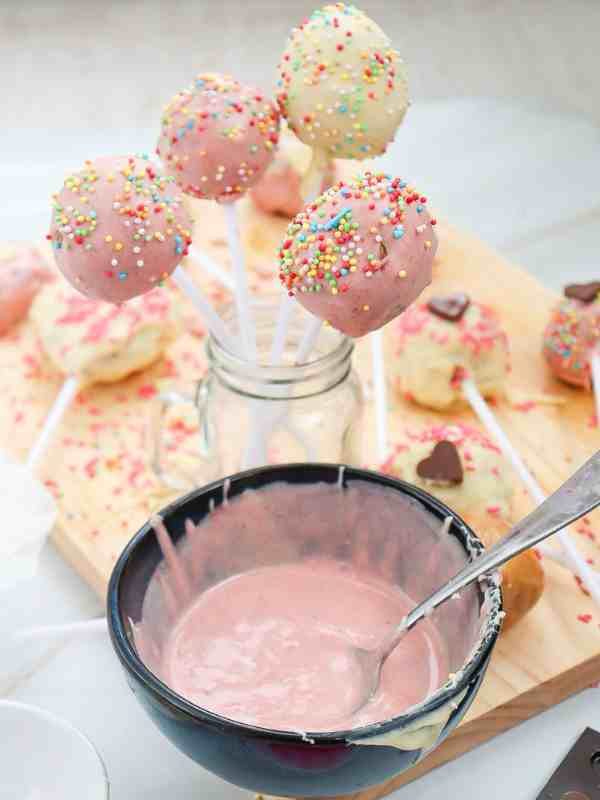
8: Dip the Pop Cakes

- Gently dip each cake pop into the melted chocolate, ensuring full coverage.
- Lift and rotate to let excess drip off.
- Avoid swirling too much to prevent crumbs from mixing into the coating.
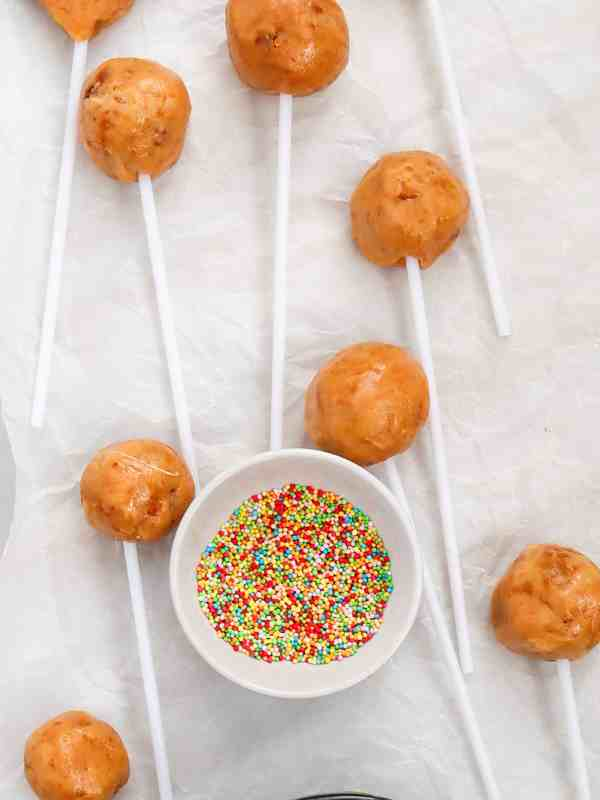
9: Decorate
- Before the coating sets, add sprinkles, crushed candies, or edible glitter.
- For extra Valentine flair, go in with contrasting chocolate or add tiny sugar hearts.
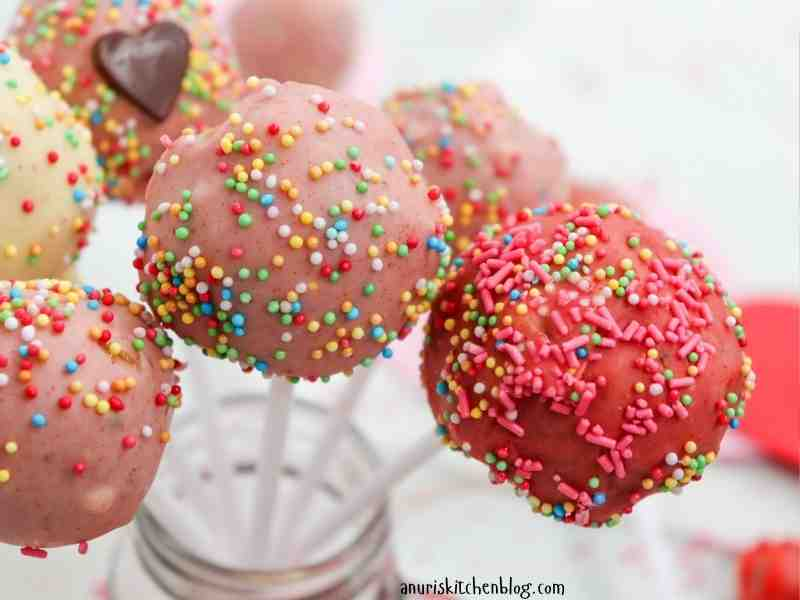
10: Set and Serve
- Place the pops upright in a Styrofoam block or cake pop stand to dry.
- Once fully set, wrap them in clear treat bags or arrange them in a jar for a beautiful Valentine presentation.
Creative Decoration Ideas
- Heart-Shaped Sprinkle
Dip your cake pops in chocolate, then press a small heart-shaped sprinkle or candy on top before the chocolate sets. This makes them look instantly Valentine-ready.
- Marble Swirl
Dip the cake pops in white chocolate, then quickly drizzle a little red or pink chocolate on top. Use a toothpick to swirl the colors for a pretty marble look.
- Sparkle Dust
Once the coating is dry, lightly brush on some edible glitter. It gives your cake pops a soft sparkle without being too much.
- Chocolate Drizzle
After coating and letting them dry, pipe thin lines of chocolate across the pops using a piping bag or small zip bag. This gives a neat bakery-style finish.
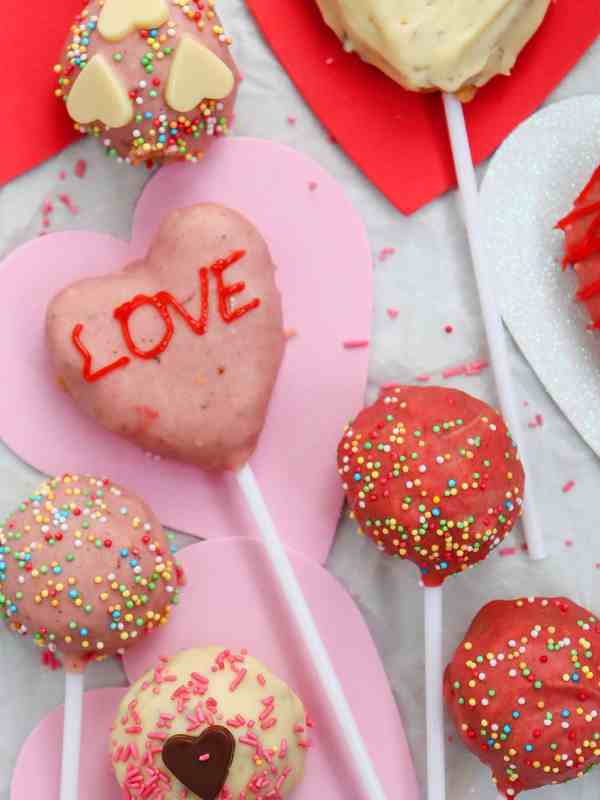
- Sweet Messages
Use edible letters or pipe short words like “Love,” “XOXO. It makes each cake pop feel personal and special.
- Sprinkle Edges
Instead of covering the whole pop with sprinkles, dip only the top half into Valentine-colored sprinkles. It looks stylish but still festive.
- Double Dip Style
First coat the pop in white chocolate, let it set, then dip only the bottom half in red or pink chocolate. The two colors together make a clean, elegant look.
Gifting & Packaging Ideas

- Clear Treat Bags
Place each cake pop in a small clear bag and tie it with a red or pink ribbon. It keeps them fresh and lets the pretty design show through.
- Valentine’s Gift Box
Arrange several cake pops in a small box filled with tissue paper or shredded paper. It looks neat and makes the gift feel extra thoughtful.
Mistakes to Avoid ( Helpful for Beginners)

- Skipping the Chill Time
If you don’t chill the cake balls long enough before dipping, they may fall apart or slide off the stick. Always give them enough time in the fridge or freezer to firm up.
- Using Too Much Frosting
Adding too much frosting makes the cake balls too soft and sticky. Use just enough to bind the crumbs together so they hold their shape.
- Overheating the Chocolate
Melted chocolate that gets too hot becomes thick and hard to work with. Melt slowly, stirring often, so it stays smooth and easy to dip.
- Forgetting to Tap Off Extra Coating
Dipping and leaving on too much chocolate makes the pops heavy and messy. Gently tap the stick on the edge of the bowl to remove the extra coating.
- Not Securing the Sticks Properly
If you don’t dip the stick in a little chocolate before inserting it, the cake pop might fall off later. That tiny step makes them much more secure.
- Rushing the Drying Process
Trying to decorate before the coating sets can smudge the design. Let them dry completely so your decorations look neat and stay in place.
Healthier Variations for this Recipe
- Use Dark Chocolate
Instead of regular milk chocolate, try dipping in dark chocolate. It has less sugar and adds a rich, slightly bitter taste that balances the sweetness of the cake.
- Go Sugar-Free
Use sugar-free chocolate or a low-sugar cake mix if you’re making these for someone who is cutting back on sugar. The flavor is still delicious, but lighter.
- Add Fruits Inside
Mix in chopped strawberries, blueberries, or dried fruits with the cake crumbs. This adds natural sweetness and makes the pops extra special.
- Whole Wheat or Almond Flour Cake
Bake the cake with whole wheat flour or almond flour for a healthier base. It gives the pops a nutty flavor and extra fiber.
- Protein Cake Pops
Add a scoop of protein powder to your cake batter or frosting mix. This is a fun way to make cake pops a little more filling and gym-friendly.
- Colorful Surprise Centers
Place a mini marshmallow, candy, or nut inside the cake ball before dipping. When someone bites into it, they get a fun surprise in the middle.
- Themed Sprinkles and Toppings
Change the decorations to match holidays or events. Red and green sprinkles for Christmas, pink and red for Valentine’s Day, or rainbow for birthdays.
Serving Suggestions
- Party Display
Arrange your cake pops on a decorative stand or place them in a foam block wrapped with colorful paper. This makes them look like a bouquet and adds charm to your party table.
- Individual Wrapping
Wrap each cake pop in clear plastic and tie with a ribbon
You just read about: Valentine Pop Cake.