How to Organize Your Pantry Like a Pinterest Pro (Step-by-Step Pantry Organization Guide)
As a busy mom of three adorable kids, all under five, mornings can feel like a marathon. Between school runs and getting everyone ready, I often spend minutes searching for items. This makes it difficult to prepare breakfast quickly, especially on hectic school days.
I’ve always wanted a kitchen that feels less stressful, more organized, and easier to manage. Instead, I constantly struggled to locate ingredients I knew I had. I also piled up expired products and wasted food before using them. This left the whole kitchen looking messy most of the time.
That’s when I decided to make a change. I got a shelf and created a simple system to organize my pantry. I placed frequently used items where I could easily reach them and reduced the chaos that used to slow me down every morning.
If you are a busy mom with no time to organize but want less stress during cooking and a tidy home, or you just moved into a new apartment and want to set up your pantry the right way from the beginning, keep reading. Even if you want a budget-friendly pantry organization idea that looks aesthetic like Pinterest, this guide will help you.
In this guide, you’ll learn how to turn your pantry into a neat, functional, and beautifully arranged space. You’ll discover space-saving ideas, storage solutions, and simple category systems to help you maximize every corner.
Let’s get started!
How to Organize Your Pantry Like a Pinterest Pro
Step 1: Start With a Complete Pantry Cleanout
Empty your entire pantry:
Start with the scariest and most daunting part, removing everything from your shelves, fridge, cupboards, or wherever you store your food. Empty everything completely so you can clearly see how much space you have to work with. If you love creating neat kitchen spaces, you may also enjoy my guide on The Ultimate Guide to Glass Jar Food Storage for more pantry organization inspiration.
Check expiration dates on all food items:
Some store-bought or homemade dry foods may have expired. Take time to sort them out and throw them away. An organized pantry helps prevent food from expiring unnoticed. Also, discard broken packaging so your pantry doesn’t look worn out after organizing.
Donate unopened items you won’t use:
Avoid wasting food. Many people will gladly accept unused and unopened items. This is also a great way to give back. I love donating mine to people in my neighborhood.
Wipe and vacuum:
Roll up your sleeves and thoroughly clean your shelves and drawers. Vacuum corners to remove crumbs. I usually add a deodorizer to eliminate lingering odors. Make sure all surfaces dry completely before restocking to prevent moisture buildup.
Take inventory of what you already have:
Lay out the remaining items and group them into categories like snacks, baking supplies, grains, and canned goods. This gives you a clear visual of what you have and where each item should go.
Step 2: Clean and Reset Your Space
Now that everything is clean, you can start planning where to place your organizers. There are many ways to do this, but I like to keep frequently used items at eye level. This makes them easy to grab without stretching or bending.
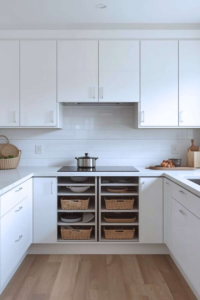
Place shelf liners to keep your pantry clean and prevent spills. Use the top and bottom sections for bulky items, hidden items, and your kids’ snacks.
I also use a cute egg organizer that sits on the middle shelf for easy access. It allows the eggs to roll forward like a vending machine, making it easier to track how many I have left.
If you’re working with a small kitchen, you may also like my post on 10 Minimalist Kitchen Essentials You’ll Actually Use to avoid overcrowding your pantry and countertops.
Step 3: Categorize Your Items
When organizing my pantry, I assign specific areas for each category, especially snacks. I use three baskets just for snacks, one for protein bars, one for chips and quick snacks, and one for adult snacks. I place them just above the bottom shelf so my children can easily grab what they need without making a mess.
Here’s how to categorize food in your pantry:
Group bulky food items together:
Place rice, pasta, and beans in one section, and keep baking supplies in another.
Separate breakfast foods:
I keep oatmeal, cereals, sauces, spices, condiments, bread, and milk on the middle shelf but in separate sections. This makes busy mornings easier. Also, separate quick meals and instant foods to avoid mixing things up.
Group beverages and drink mixes:
Place them on the upper shelves, especially if they contain alcohol, to keep them out of children’s reach.
If you love cookies, transfer them into a jar. I recommend cutting out the nutritional information and expiry date from the packaging and placing it at the bottom of the jar. This helps you track freshness and prioritize what to use first.
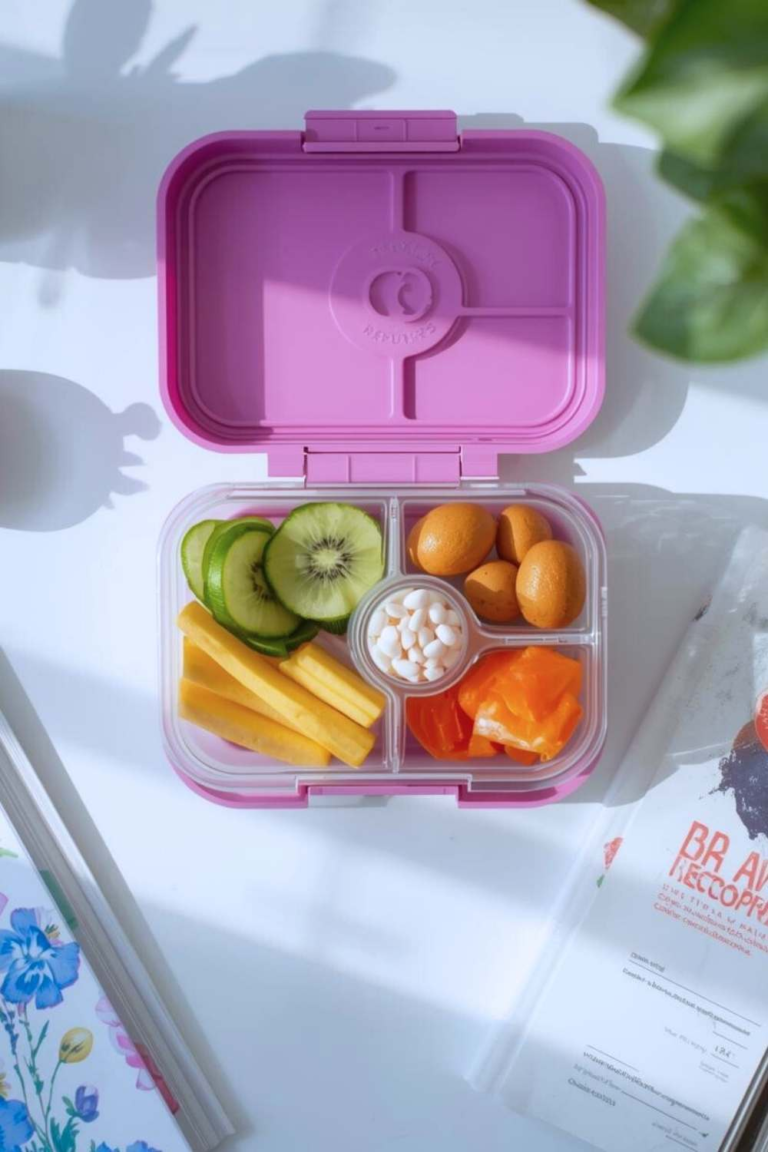
You can also create a dedicated snack section for your children just like the ideas shared in my post on How to Create a “Snack Drawer” For Kids (That Isn’t Messy).
Step 4: Choose the Right Storage Containers
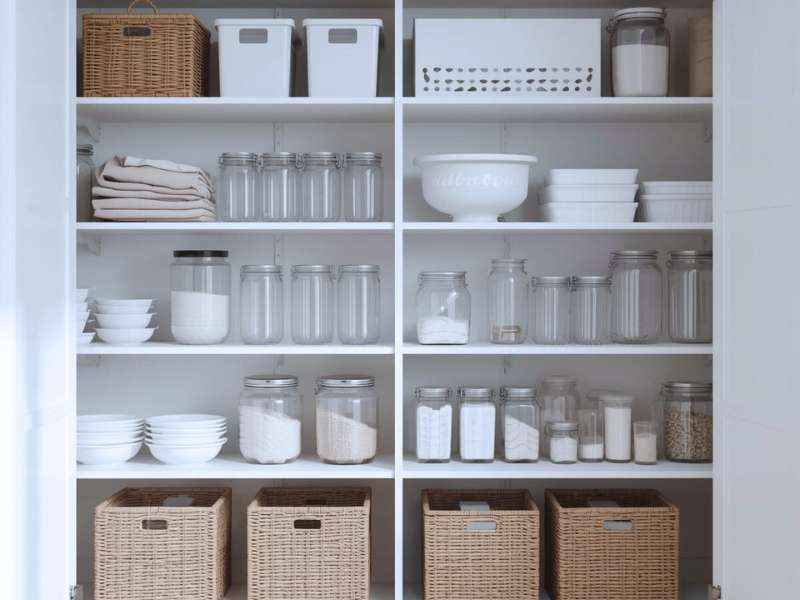
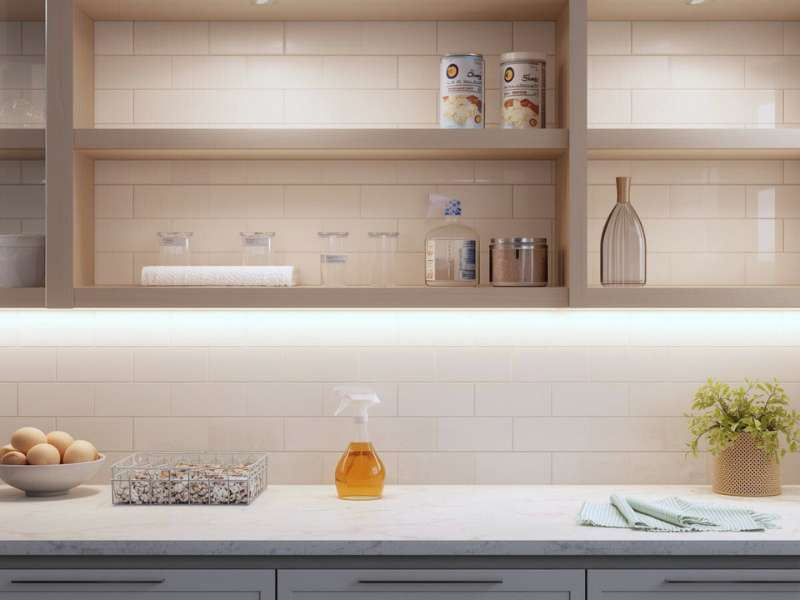
Start by coordinating your organizers. I love a pantry with clear containers and warm woven tones. I use airtight glass containers for both dry and wet foods so I can easily see what’s inside. You can also use plastic containers if you prefer.
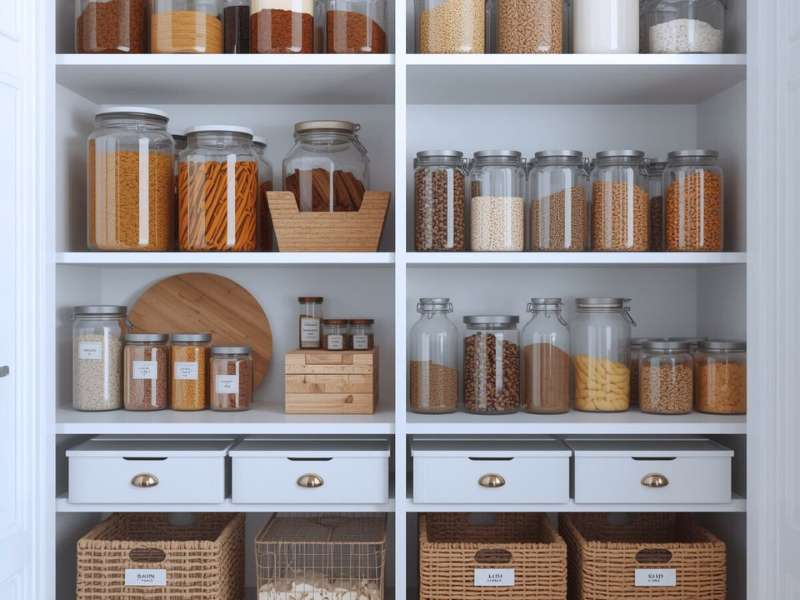
I use woven baskets to group items that look cluttered and turntables for tight corners. Every space should serve a purpose.
When planning your layout, balance similar shapes and sizes for a clean look. I store bulk dry foods like grains, flour, and sugar in matching containers. I also use beverage and wine organizers, which I place slightly above the dry goods.
You can install a door organizer if you need extra storage space.
Glass jars make my pantry look more aesthetic. I store flour and sugar in airtight mason jars and pasta in tall clear jars.
If you have limited space, choose square containers and cereal dispensers to maximize storage.
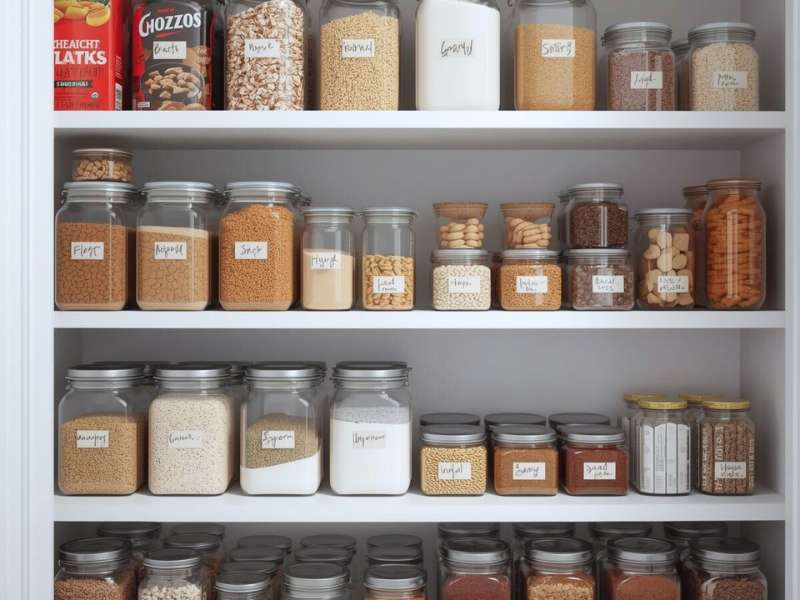
Step 5: Label Everything
Labeling is one of the most important parts of pantry organization. Imagine mistaking salt for sugar because the jars aren’t labeled—you definitely don’t want that.

I prefer using sticker labels because I can easily remove or replace them. I keep the labels simple so everyone in my home can understand them.
I place labels where they are easy to see. While many people label the body of jars, I place mine on the lids so they remain visible even when the jars turn. For baskets without lids, I place labels on the front. If you enjoy using jars for pantry organization, you may also love my post on The Ultimate Guide to Glass Jar Food Storage for more practical storage ideas.
If you’re new to labeling, start with main categories like snacks, rice, pasta, cereal, or baking supplies.
Once everything is labeled, you’ll find it much easier to locate ingredients, store groceries, and maintain order without extra effort.
Maintenance Tips to Keep Your Pantry Organized
Setting up your pantry is one thing—keeping it organized is where the real work happens.
Daily use, especially during busy mornings, can quickly create clutter. But a few simple habits can keep everything tidy and functional.
Start with weekly quick resets:
Return items to their proper places and wipe away crumbs or spills at least once a week. This prevents clutter buildup and reduces the need for deep cleaning.
Do monthly expiration checks:
Remember the tip about keeping expiry dates from packaging? Put it into practice. Once a month, scan your pantry for expired or nearly expired items. This reduces waste and helps you plan your grocery shopping better.
Use the “one in, one out” rule:
Finish or remove one item before adding another. For example, use up an old cereal before buying a new one. This keeps your pantry from becoming overcrowded.
Get your family involved:
You shouldn’t handle everything alone. Show your family where items belong and encourage them to return things after use. They may not get it right at first, but consistency makes a difference. I keep snacks within my kids’ reach and place restricted items higher up.
Creating a dedicated snack section can also help reduce mess. You can check out my guide on How to Create a “Snack Drawer” For Kids (That Isn’t Messy) for more helpful ideas.
Final Thought
Organizing your pantry like a Pinterest pro doesn’t require a huge budget or perfect containers. You just need a simple system that fits your lifestyle—and consistency. Small changes like grouping items, using storage jars, and labeling properly can make a big difference in how your kitchen looks and functions.
If you’re trying to simplify your kitchen even more, you may also enjoy reading 10 Minimalist Kitchen Essentials You’ll Actually Use and Budget-Friendly Kitchen Makeovers Under $100.